Now I’m going to show you how to tie a ribbon onto a bridal bouquet. I’m going to show you a very simple ribbon wrap.
But first I want to talk about what kind of ribbon to select. So, here I’ve made this bouquet with some beautiful blush colors and a little bit of white and some rich pops. So obviously you’re options are to match it very closely by using a blush color, a cream color, or even this rich hue. That might be a nice thing to do.
So today I’ve pulled two different ribbons. Both of which match those colors. I actually, for a bridal bouquet, like to use a thick satin ribbon. I think it’s really beautiful and classic, so I’ll demonstrate that today, but you could also certainly do something like a wired ribbon. This ribbon has a little bit of wire on the edge, so if you were going to do some kind of a intricate bow or leave some cascading tendrils, you can actually cinch the ribbon with your hand and you can even pin the ribbon into cascades, and that’s a nice very antique look.
But today let’s use a French satin ribbon. So, because typically, you’re doing a bridal bouquet and it’s just you, and you only have your two hands, you’re going to be holding the bouquet with one hand and ribboning with the other.
So I like to get my tools ready. I get the ribbon, and I keep it on the spool. I don’t cut it because I just don’t know how much I’m going to need. I get my tail end ready in front of me, a nice pair of ribbon scissors. You really should have a pair of scissors that’s dedicated just to ribbons. So nice and sharp. Nice and clean so that you can get those lines, and you’re not cutting flowers or anything else with these scissors.
So I get my ribbon and, especially with satin ribbon, there are typically two sides. There’s a side that’s more matte, and there’s a side that’s more shiny. Ultimately you’re going to want that shiny side out.
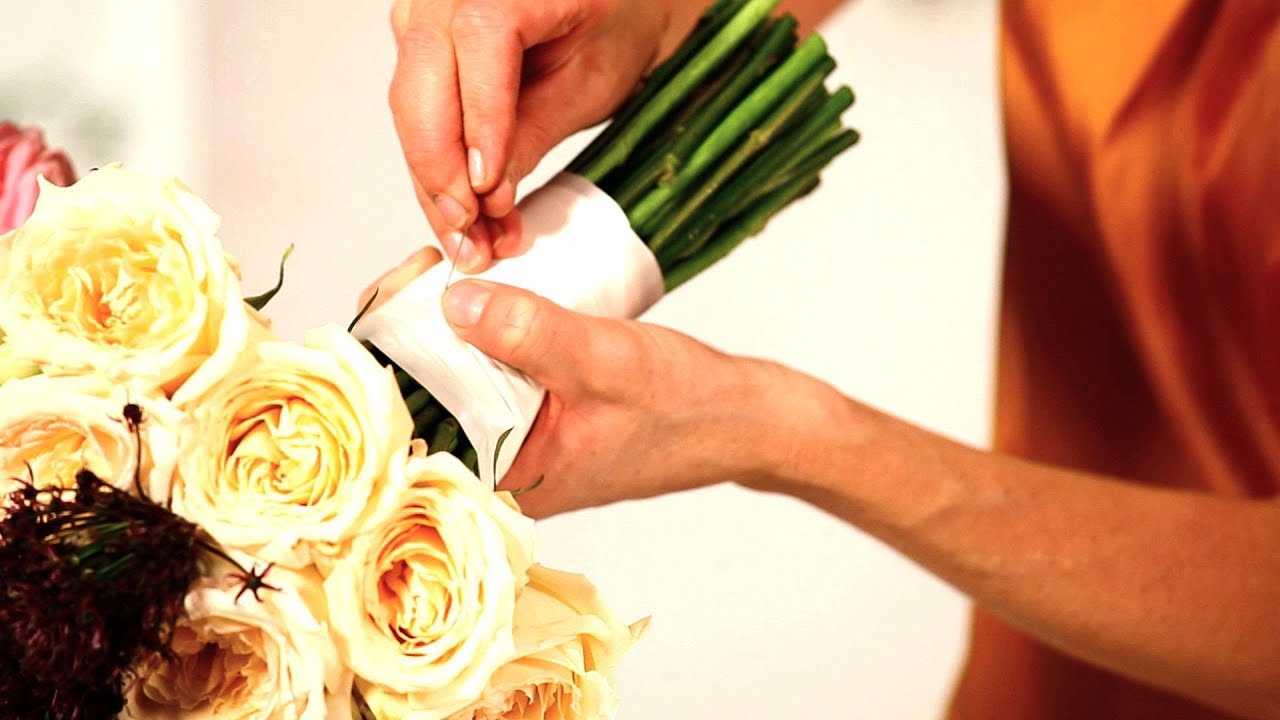
Today I’m going to show you just a very simple ribbon wrap. I always want a clean end, so even though this end is technically going to end up underneath all of the other ribbon that I wrap, I like to just fold it over. And it’s more for habit than anything else.
And really this wrap involves just wrapping the ribbon around and using some pearl-handled pins to secure it.
So I’m just going to fold this edge and use my index fingers to fold it and place it down. Take my thumb and secure the ribbon, and then I can even put an index finger here, like we did with the tape.
I’m going to use the ribbon. Pull it a little bit tight and just start twisting it around. I like to start in the middle, just like I do with the tape. So then I’m going to take a look at the bouquet and figure out where’s the front for me. I think here. So I’m going to measure it on myself. I’m going to look down. I like the way the flowers look in the front, so I’m going to secure it with the pins in the back. And then you fold the ribbon under, just like we did at the beginning to achieve a clean line.
So with that fold you get a clean line.
Now I’m going to hold that with my thumb and here’s the tricky part. Use my thumb and place the pin into the bouquet and angle up toward the blooms so it doesn’t poke out on the other side, and it’s not going to poke anybody.
I like to put two or three a little bit further down on the ribbon, angle up, and that is how you put a ribbon on a bridal bouquet.